Invoice processing screencast (YouTube) – 2m 37s
Summary
In this screencast:
- Introduction (0:00)
- Gathering information about the invoice (0:20)
- Automatically sending the invoice email (0:30)
- Setting reminders (0:48)
- Starting the process (1:30)
- Processing an invoice (1:50)
- Viewing a list of overdue invoices (2:16)
Transcript
In this screencast, I’m going to add reminders to a customer invoice process. We’ll use time-based reminders to help make sure we get paid.
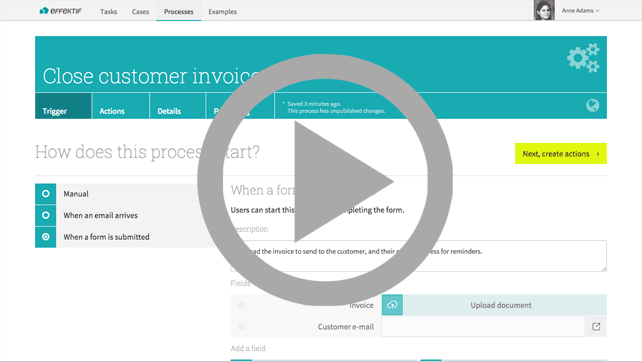
This process starts with a form. The form has a field for the customer invoice, which we’ll send, and the customer e-mail address, which we’ll use for reminders.
The process starts when the invoice is ready.
Gathering information about the invoice (0:20)
The first task is to check the invoice to make sure it is correct. There is also a form, which is used to collect a purchase order reference number, which we’ll use later to identify the invoice in communication with the customer.
Automatically sending the invoice email (0:30)
If the form is correct, we’ll move on to sending the invoice, which is an automatic Send Email task. This task sends the email to the customer email address we collected at the start, using the purchase order reference that we collected at the Collect invoice step, and sends the invoice as an attachment.
Setting reminders (0:48)
The next user task is to check for payment. This won’t happen immediately, so we can use a reminder to set a due date. In this case our payment terms are fourteen days.
The result of checking for payment is another decision: has the invoice been Paid or is the invoice Unpaid?
If the invoice is still unpaid, then we’ll repeat the previous two steps but with a variation. The email is now a reminder, instead of an initial invoice.
The task that follows it is to chase the late payment. Again, we set a reminder. This time we expect payment immediately, so we set the due date to one day.
We’d also like a reminder a day later. And, in fact, we’d like a reminder every day until this task is complete, so that we can continually chase payment until we get paid.
Starting the process (1:30)
Now let’s see it in action.
For the demo, we’re going to change the due date to less than a day, so that the task is immediately due.
Now let’s publish the process and start a case.
For the new case, we’ll upload a PDF for the invoice. We’ll skip the email address because we’re not going to use the email notifications in this demo.
Processing an invoice (1:50)
We start the case, and it starts with a Check invoice task. We’ll just mark the invoice as Correct and continue.
The next task is to Check for payment. We see on the task list that this is not due until later, because the payment terms are fourteen days, which we can see on the payment page.
Let’s proceed by marking it as Unpaid, and we’ll go straight to the Chase late payment step.
Note the error icon, which indicates that email could not be sent.
Viewing a list of overdue invoices (2:16)
Now if we go to the Tasks view, we can see that the Chase late payment task is due today. Because of the reminders, it will be due every single day until we complete it.
This means that if a team or a single person are processing a large number of invoices, they can see on any given day which payments are due that day and which payments need to be chased up.